AGA Oil Control Box Manual Lever: A Comprehensive Guide
Understanding the lever’s function is crucial for AGA cooker operation. This guide details its use, from initial setup and bleeding the oil filter, to extinguishing and relighting the burner safely.
Understanding the AGA Oil Control Box
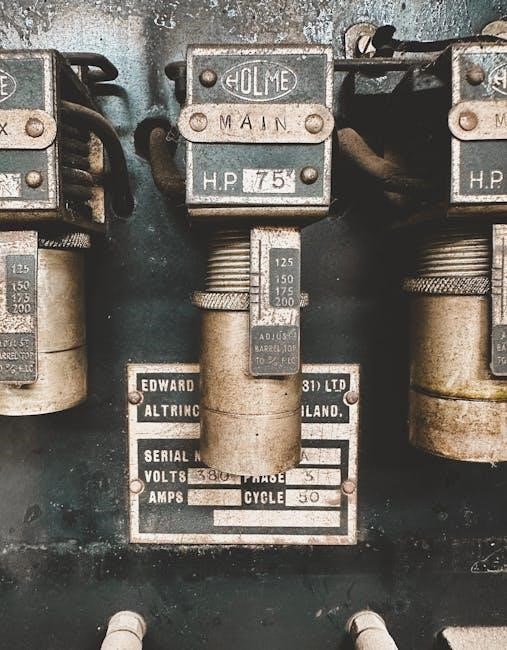
The AGA oil control box is a vital component in oil-fired cookers, managing the oil supply to the burner. It’s essentially the heart of the oil-burning system, ensuring a consistent and safe fuel delivery. Central to its operation is the reset lever, a manually operated mechanism that controls oil flow. This lever isn’t simply an on/off switch; it’s a carefully engineered system designed to allow oil to enter the control valve after periods of inactivity or when air has entered the system.
The box itself houses a solenoid, a crucial element that interacts with the reset lever. A properly functioning solenoid and lever will exhibit a distinct ‘click’ both when lifted and depressed – a key indicator of operational health. Understanding this click is paramount for troubleshooting. The control box is connected to the oil supply via an isolating valve and the oil filter, both of which play roles in ensuring clean and consistent fuel delivery. Proper installation, as outlined in manuals like those found on ManualsLib, is essential for safe and efficient operation. The electrical supply to the oil control box is also a critical aspect, particularly for models like the OC, 2OE, and 4, as detailed in AGA documentation.
Purpose of the Reset Lever
The primary purpose of the AGA oil control box reset lever is to allow oil to enter the control valve, particularly after the oil supply has been shut off or the oil filter has been changed. It overcomes initial resistance and draws oil through the system, effectively priming it for ignition. Depressing the lever isn’t a continuous operation; it’s a momentary action, allowing just enough oil to flow and establish a consistent supply.
This action is crucial because air can become trapped within the oil lines, preventing the burner from lighting. The lever’s mechanism physically pushes against the oil, forcing it past any air pockets. As highlighted in AGA user manuals, allowing approximately fifteen minutes for oil to enter the burner after depressing the lever is standard practice. The ‘click’ sound, as noted by JustAnswer UK Plumbing experts, confirms the lever is engaging and disengaging correctly, indicating the solenoid is functioning. Failure to click down suggests a potential mechanical fault or solenoid issue, requiring further investigation. It’s a fundamental step in both initial setup and routine maintenance.
Oil Supply and the Control Box
The AGA oil control box acts as the central regulator between the oil supply and the burner. Before any operation, ensuring the oil supply is turned on at the isolating valve is paramount, as detailed in oil conversion guides for AGA cookers (K600 Series). The control box receives oil from the tank, filters it, and then delivers it to the burner at the correct pressure and volume.
Crucially, if the oil filter isn’t self-bleeding, it must be bled of air before proceeding. Air in the system prevents proper oil flow and inhibits ignition. The reset lever plays a vital role in this process, initiating the oil flow after filter bleeding or a period of inactivity. The control box also incorporates safety features, like the fire valve, which can close due to downdraught, isolating the oil supply. Understanding this relationship – oil tank to control box to burner – is essential for safe and efficient operation. Regular checks of the oil level and filter condition are vital for maintaining a consistent supply and preventing issues with the reset lever’s functionality.
Initial Setup: Turning on the Oil Supply
Prior to initiating the AGA cooker, verifying the oil supply is correctly activated is a fundamental step. Begin by confirming the Oil Control Valve knob is firmly in the ‘OFF’ position. Subsequently, turn on the oil supply at the isolating valve – this is a critical safety precaution. Following an extended period without use, or after an oil conversion utilizing a K600 Series burner kit, this step is particularly important.
Once the oil supply is open, attention should be directed towards the oil filter. If the installed filter isn’t a self-bleeding type, it’s essential to bleed any trapped air. Air within the oil lines can prevent the oil from reaching the burner, hindering ignition and affecting performance. After ensuring the oil flow, and before attempting to light the burner, the reset lever on the oil control box must be depressed to allow oil entry into the control valve. This primes the system, preparing it for ignition. Always refer to installation instructions (like those found on ManualsLib) for specific guidance related to your AGA model.
Bleeding the Oil Filter
The process of bleeding the oil filter is vital for ensuring a consistent and reliable oil supply to your AGA cooker, particularly after initial installation or a period of inactivity. If your AGA utilizes a non-self-bleeding oil filter, trapped air can create a blockage, preventing oil from reaching the burner and hindering ignition. This can manifest as difficulty lighting the burner or inconsistent flame performance.

To bleed the filter, locate the bleed screw, typically found on the filter housing. Using a suitable wrench, slowly loosen the bleed screw while observing for oil flow. Continue loosening until a steady stream of oil, free from air bubbles, emerges. Once a consistent oil flow is established, carefully tighten the bleed screw. It’s crucial not to overtighten, as this could damage the filter housing.
Following successful bleeding, depress the reset lever on the oil control box to allow oil to enter the control valve, priming the system. Remember to consult your AGA cooker’s installation instructions for model-specific guidance on filter bleeding procedures, as detailed in resources like ManualsLib.
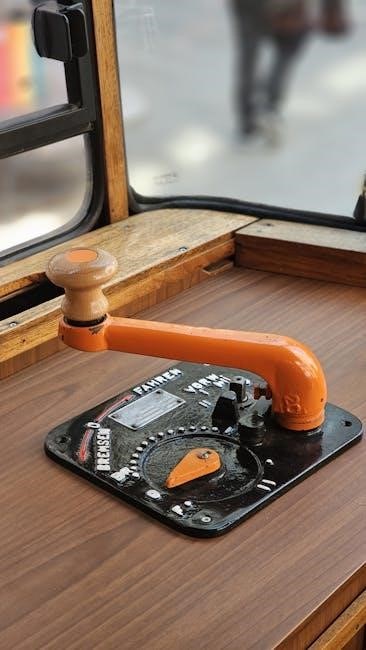
Depressing the Reset Lever: Allowing Oil Entry
Depressing the reset lever on the AGA oil control box is a fundamental step in initiating the oil flow to the burner, especially after filter bleeding or when the oil supply has been interrupted. This action mechanically opens a pathway, permitting oil to travel from the tank, through the filter, and into the control valve, ultimately reaching the burner assembly.
The lever, when lifted and then gently depressed, should exhibit a distinct ‘click’ – a crucial indicator of successful engagement. This click confirms that the internal mechanism has activated, allowing oil to enter the system. It’s recommended to allow approximately fifteen minutes for the oil to fully permeate the system after depressing the lever, ensuring complete priming before attempting to light the burner.
As highlighted in AGA OC user manuals and installation guides (ManualsLib), this process is essential for reliable ignition. Failure to allow sufficient time for oil entry can result in a delayed or unsuccessful lighting attempt. Always refer to your specific model’s instructions for precise timings and procedures.
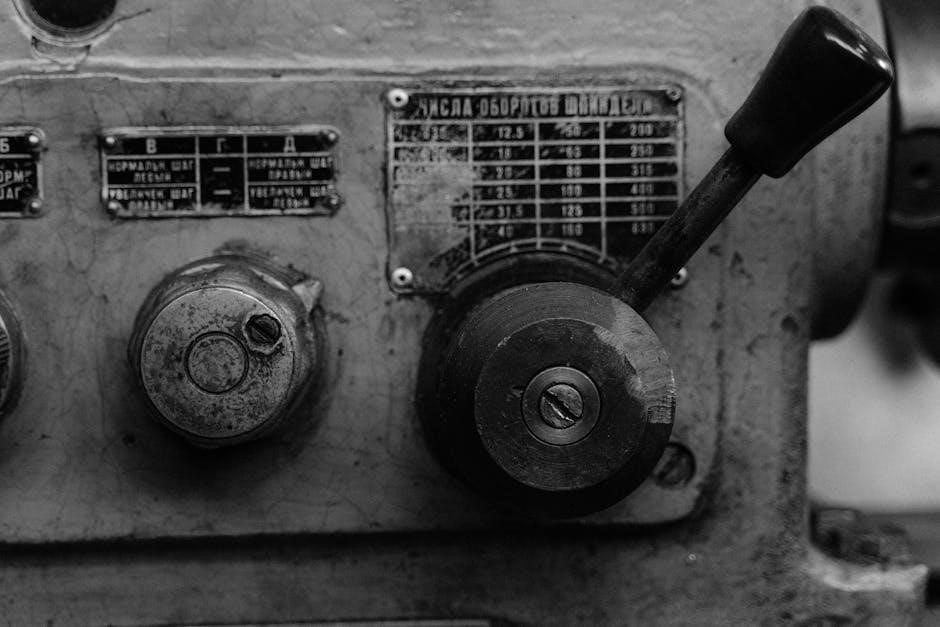
The Click Mechanism: A Sign of Functionality
The audible ‘click’ produced when raising and depressing the AGA oil control box reset lever is paramount – it’s a direct confirmation of the lever’s proper mechanical operation and the solenoid’s engagement. This click signifies that the internal valve mechanism is moving, opening the pathway for oil to flow from the tank towards the burner.
According to expert advice from JustAnswer UK Plumbing, the absence of this click, particularly when depressing the lever, is a strong indication of a potential mechanical fault or a stuck solenoid. A solenoid issue prevents the valve from opening, halting oil delivery. This necessitates immediate investigation to avoid further complications.
Both the upward and downward movement of the lever should produce a clear click. A missing click in either direction suggests a problem within the control box. Ignoring this warning sign can lead to burner ignition failures and potentially require professional servicing. Regularly checking for this click during routine maintenance is a proactive step towards ensuring consistent AGA performance.
Troubleshooting: Reset Lever Not Clicking Down
If the AGA oil control box reset lever fails to click down, it strongly suggests a mechanical issue or a stuck solenoid, preventing oil flow to the burner. This is a common problem requiring systematic troubleshooting. First, ensure the oil supply is turned on at the isolating valve and that the oil filter isn’t blocked – bleeding the filter may be necessary.
According to expert sources, a lack of clicking indicates the solenoid isn’t engaging, hindering the valve’s opening. Gently attempt to manipulate the lever with slightly increased pressure, but avoid forcing it. Inspect for any visible obstructions around the lever mechanism.
If the issue persists, a more in-depth examination of the solenoid is required. This may involve checking its electrical connections and testing for continuity. Due to the complexity of the oil control box, professional assistance from a qualified AGA technician is often recommended. Attempting repairs without proper knowledge can exacerbate the problem and potentially compromise safety.

Mechanical Faults and Solenoid Issues
The AGA oil control box relies on both mechanical precision and the reliable operation of its solenoid. Mechanical faults can manifest as a stiff or unresponsive reset lever, often linked to corrosion or accumulated debris within the valve assembly. These issues impede the lever’s movement and prevent proper oil delivery.
Solenoid problems are equally common. The solenoid’s role is to electrically actuate the valve, allowing oil to flow. A failing solenoid might not engage, even with power supplied, resulting in the reset lever failing to click down. This can stem from a burnt-out coil, damaged wiring, or internal mechanical failure within the solenoid itself.
Diagnosing these issues requires careful inspection. Check electrical connections to the solenoid and test for continuity. For mechanical faults, a gentle cleaning and lubrication of the lever mechanism might resolve the problem. However, significant corrosion or solenoid failure typically necessitates professional repair or component replacement to ensure safe and efficient operation of the AGA cooker.
Extinguishing the Burner: Procedure
Safely extinguishing the AGA burner is a straightforward process, primarily managed through the oil control box and its reset lever. Begin by ensuring the burner is operating normally. Then, simply lift the reset lever on the oil control box to the ‘OFF’ position. This action immediately halts the oil supply to the burner, initiating the extinguishing sequence.
It’s crucial to allow the burner to extinguish completely before attempting any further adjustments or maintenance. Do not force the process or interfere with the natural flame reduction. A small amount of residual oil may continue to burn briefly, which is normal.
Never attempt to extinguish the burner by manipulating the air vents or directly interfering with the flame. Always utilize the oil control box’s reset lever as the primary means of shutdown. Following this procedure ensures a safe and controlled extinguishing process, preventing potential hazards and maintaining the longevity of your AGA cooker. Remember the critical safety precaution: NEVER RE-LIGHT A HOT BURNER.
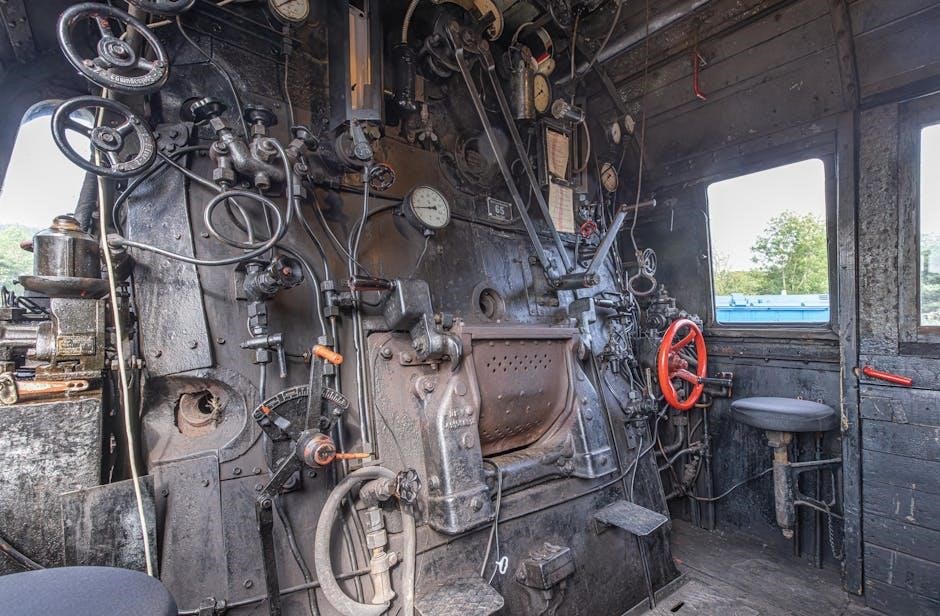
Lighting the Burner: Step-by-Step Instructions
Lighting an AGA burner requires a methodical approach, starting with preparation and utilizing the oil control box’s reset lever. First, ensure the oil supply is turned on at the isolating valve. After verifying the oil supply, lift the reset lever on the oil control box – allowing approximately fifteen minutes for oil to fully enter the burner assembly. This priming period is essential for successful ignition.

Next, open the burner’s outer door and carefully lift off the inner door. Locate the lighting flap and open it. Using a long taper or match, carefully introduce a flame into the burner opening. The oil should ignite relatively quickly, establishing a stable flame.
Once the burner is lit, close the lighting flap and replace the inner door, followed by the outer door. Monitor the flame initially to ensure consistent burning. Remember, never attempt to re-light a hot burner. Proper priming with the reset lever is key to a smooth and safe lighting process.

Safety Precautions: Never Re-light a Hot Burner
A paramount safety rule with AGA cookers is to never attempt to re-light a burner that is already hot. This precaution is critical due to the potential for a dangerous flashback or explosion. Residual oil within the burner chamber, when heated, can ignite violently upon re-introduction of a flame.
If the burner flame extinguishes unexpectedly, allow the cooker to cool completely before attempting any relighting procedures; Ensure the oil control box reset lever is in the ‘off’ position during the cooling phase. Thoroughly inspect the burner and surrounding areas for any oil leaks or unusual smells before initiating a restart.

Down draught conditions, particularly in windy locations, can sometimes cause the fire valve to close, isolating the oil supply and extinguishing the flame. If this occurs, address the draught issue before attempting to relight, and always prioritize a completely cooled burner. Prioritizing safety prevents potential hazards.
Down Draught and Fire Valve Closure
Down draughts can significantly impact AGA cooker performance, frequently leading to the closure of the fire valve and subsequent burner extinction. These drafts, often caused by external wind conditions or nearby ventilation systems, disrupt the stable airflow necessary for combustion.
The fire valve is a crucial safety component designed to automatically shut off the oil supply when an unstable burning condition is detected, such as a down draught. This prevents oil from accumulating in the burner and potentially causing a dangerous situation. When the valve closes, the flame will extinguish, and the cooker will begin to cool.
If a down draught is suspected, investigate the source and attempt to mitigate it. This might involve adjusting external vents or shielding the cooker from direct wind exposure. After addressing the draught, allow sufficient time for oil to re-enter the burner via the reset lever before attempting to relight, ensuring a stable and safe ignition.
Installation Instructions Overview
Proper installation is paramount for safe and efficient AGA oil-fired cooker operation. Initial setup, particularly concerning the oil supply and control box, demands meticulous attention to detail. Before commencing, ensure the oil control valve knob is firmly in the ‘OFF’ position. Subsequently, activate the oil supply at the isolating valve.
Crucially, verify the oil filter is either self-bleeding or manually bled to eliminate any trapped air. Air in the system prevents oil from reaching the burner, hindering ignition. Following this, depress the reset lever on the oil control box to facilitate oil entry into the control valve itself. This action primes the system for initial lighting.
Remember to switch on the electrical supply to the oil control box as part of the installation process. Refer to the AGA cooker’s specific model documentation (OC, 2OE, or 4) for detailed electrical requirements. Always consult a qualified technician for complex installations or if unsure about any aspect of the process.
Oil Conversion for AGA Cookers (K600 Series)
Converting an AGA cooker to oil, utilizing the K600 Series burner kit, requires careful adherence to specific procedures. Before initiating the conversion, confirm the oil control valve knob is definitively in the ‘OFF’ position. Then, activate the oil supply at the isolating valve, ensuring a steady flow to the system.
A critical step involves addressing the oil filter. If the installed filter isn’t self-bleeding, it’s essential to manually bleed out any accumulated air. Air pockets impede oil flow and prevent proper burner operation. Following this, firmly depress the reset lever on the oil control box. This action is vital, as it allows oil to enter and prime the control valve.
The reset lever’s functionality is key during and after conversion. A properly functioning lever should click audibly when both raised and depressed, confirming solenoid engagement. Any failure to click down indicates a potential mechanical issue or a stuck solenoid, requiring immediate attention. Always consult the K600 Series kit instructions for model-specific guidance.
AGA Oil-Fired Cooker Models (OC, 2OE, 4): Electrical Supply
For AGA oil-fired cooker models (OC, 2OE, and 4), a stable electrical supply is paramount for the oil control box’s operation, and consequently, the reset lever’s functionality. Before commencing any work, ensure the electrical supply is switched on to the oil control box itself. This powers the solenoid responsible for the lever’s clicking mechanism.
The reset lever relies on this solenoid to operate correctly. When the lever is lifted, the solenoid releases, allowing oil to flow. Upon depressing the lever, the solenoid should engage, producing a distinct ‘click’ sound. This click confirms oil is entering the system. A lack of this click signals a potential electrical or mechanical fault within the control box.
Troubleshooting often begins with verifying the electrical connection. Check the fuse and wiring to the oil control box. If the electrical supply is confirmed, the issue likely resides within the control box itself, potentially affecting the solenoid or the lever’s mechanical linkage. Remember to always disconnect power before inspecting internal components.