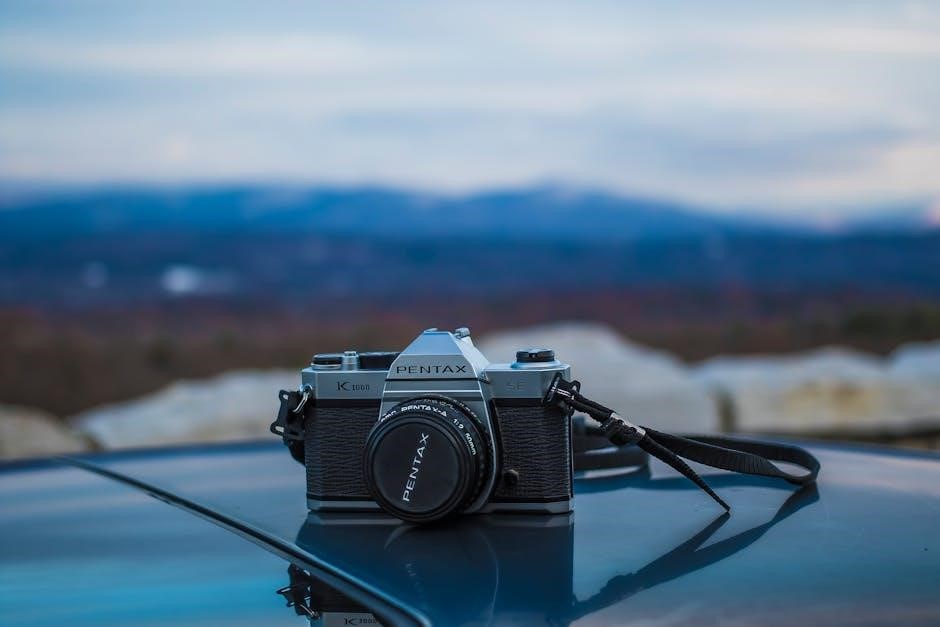
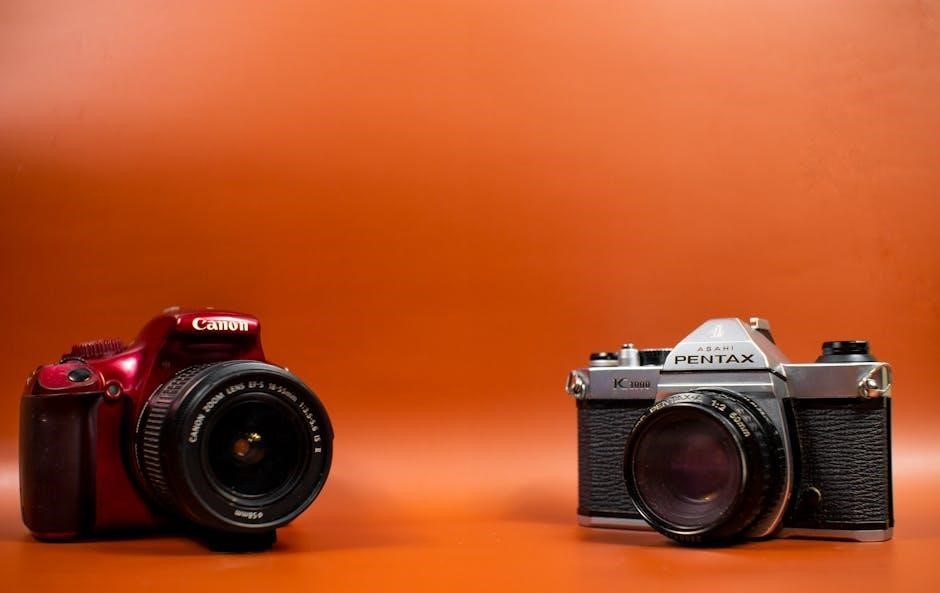
The Pentax K1000, a fully mechanical 35mm SLR, boasts enduring appeal. Numerous free manuals and guides are readily available online for enthusiasts.
Historical Significance of the K1000
Introduced in 1973, the Pentax K1000 quickly became a cornerstone for photography students and hobbyists. Its robust, all-mechanical design offered reliability and a direct connection to the photographic process, free from reliance on batteries for core functions. The camera’s simplicity facilitated learning exposure fundamentals.
The K1000’s enduring legacy stems from its role as an educational tool, appearing in countless classrooms. Accessible manuals, like those found freely online, further cemented its place in photographic history. It represents a pivotal moment in SLR design, prioritizing user control and understanding.
Why the K1000 Remains Popular Today
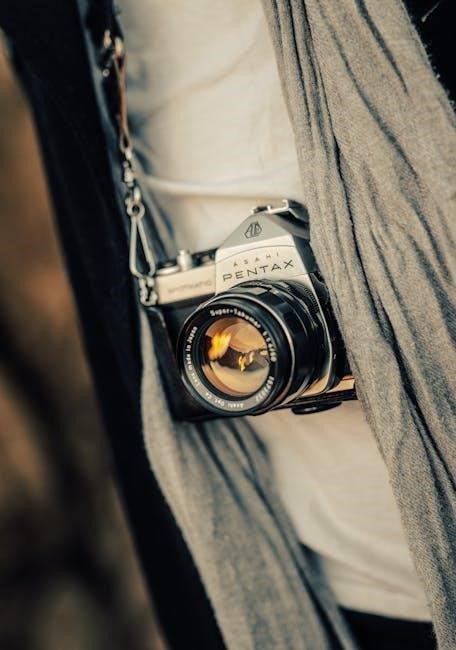
Despite its age, the Pentax K1000 enjoys a vibrant resurgence in popularity, fueled by a desire for tactile, deliberate photography. Its fully mechanical operation eliminates battery dependency for basic functions, appealing to those seeking reliability. Abundant, freely available manuals and online communities provide extensive support for new users.
The K1000’s affordability and compatibility with a vast range of SMC Takumar and other lenses make it an accessible entry point into film photography. It encourages a mindful approach, fostering a deeper understanding of photographic principles, a stark contrast to modern digital convenience.
Understanding the K1000’s Components
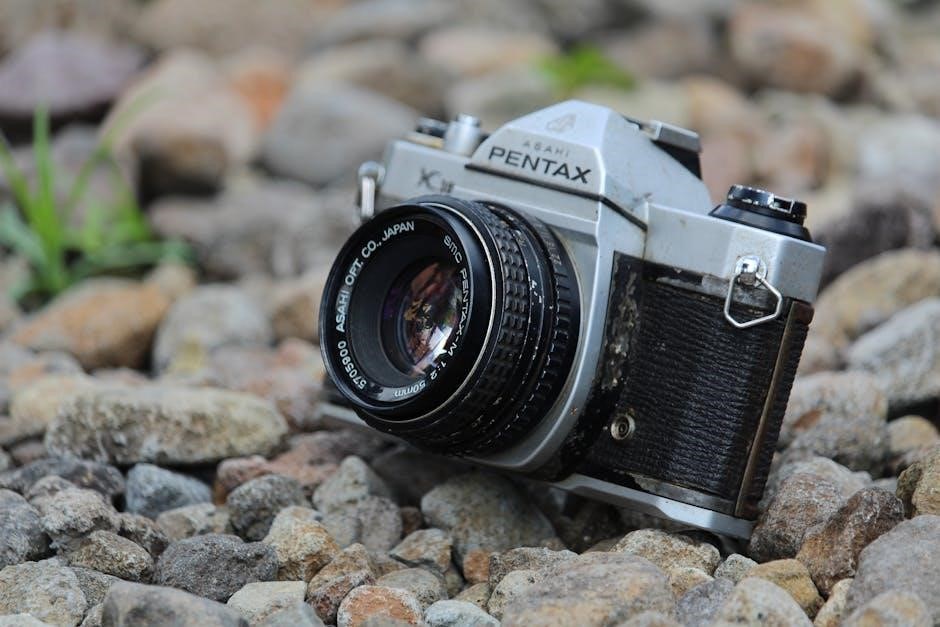
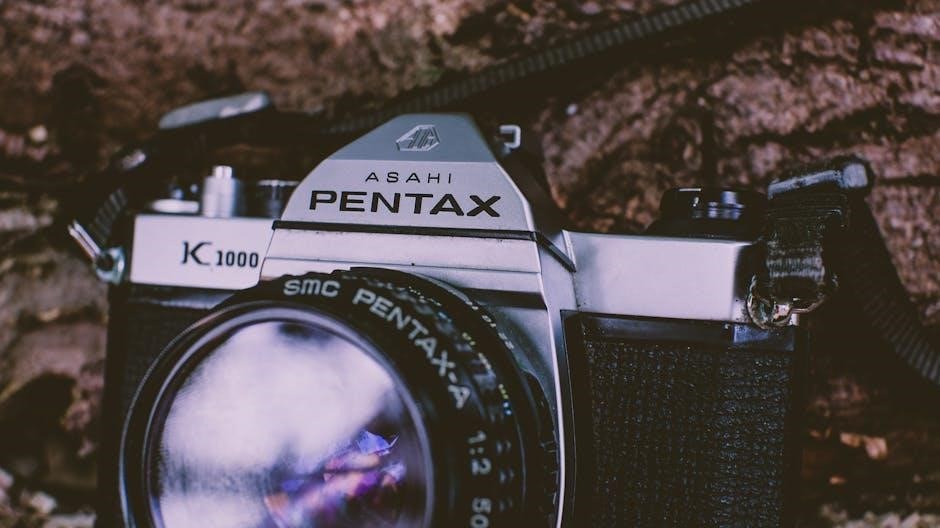
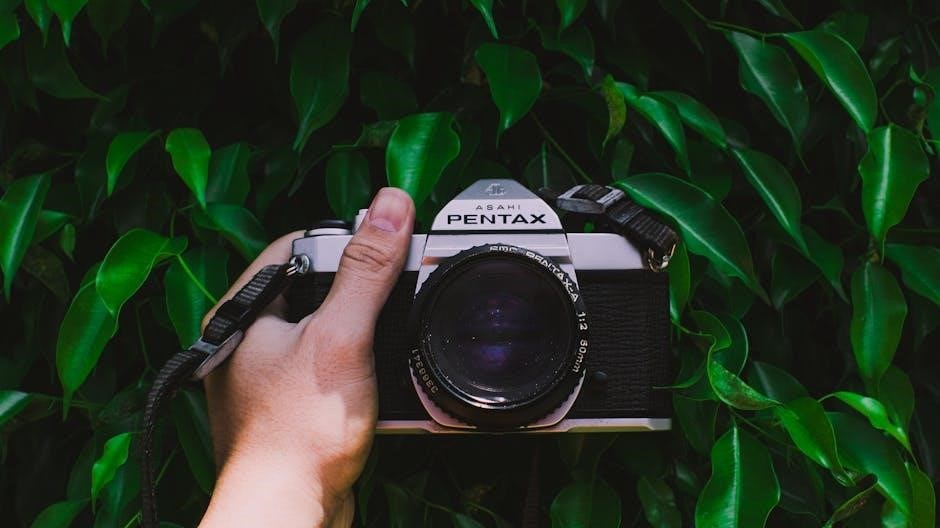
The Pentax K1000 features a robust, fully mechanical body, compatible with SMC Takumar lenses via the K-mount. Detailed manuals illustrate each part’s function.
Camera Body Overview
The Pentax K1000’s body is renowned for its simplicity and durability. It’s a fully mechanical camera, meaning no reliance on batteries for basic operation – a key feature highlighted in many manuals. The top plate houses the shutter speed dial, film speed setting, and the film advance lever. The back door allows access for film loading and unloading, processes clearly detailed in available guides. A split-image focusing aid is centrally located in the viewfinder. The bottom features the tripod mount. Understanding these external elements, as explained in the instruction manuals, is crucial for operation.
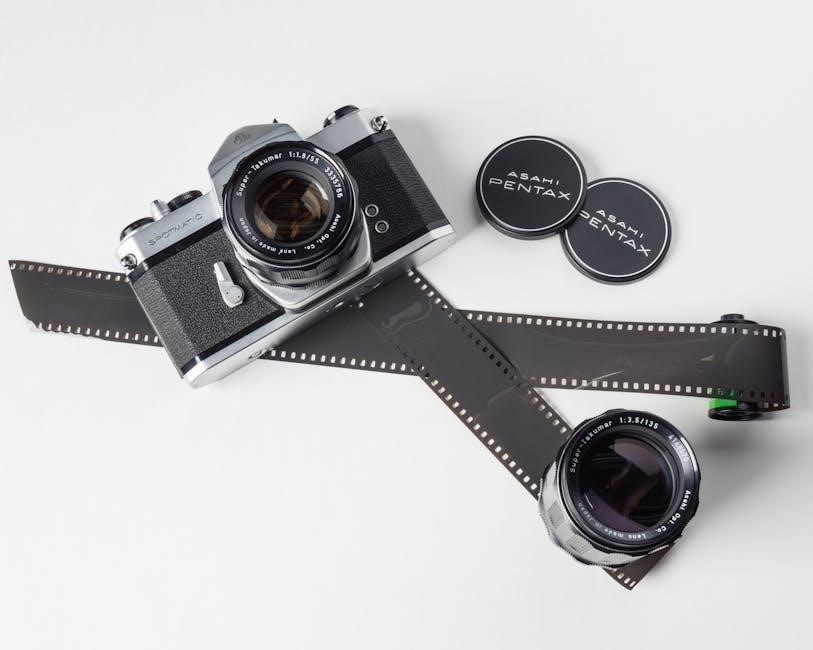
Lenses Compatible with the K1000 (SMC Takumar & Others)
The Pentax K1000 utilizes the Pentax K-mount, offering compatibility with a vast range of lenses. Notably, the SMC Takumar lenses are highly regarded for their optical quality and are frequently paired with this camera, as detailed in various guides. Adapters also allow the use of M42 screw-mount lenses. Manuals emphasize checking compatibility charts for specific lens features. Many resources list compatible models like the MZ-10/ZX-10, MZ-5/ZX-5, and older models like the ESII and SP. Proper adaptation ensures full functionality.
Shutter and Metering System
The Pentax K1000 features a fully mechanical shutter, offering reliable operation without battery dependence for basic functionality. However, the built-in light meter requires a PX28 battery for operation. Instructions detail enabling the meter simply by removing the lens cap, activating the metering chain. Manuals highlight setting the film speed (ISO/ASA) and then adjusting the shutter speed and aperture. Understanding this interplay is crucial for correct exposure, as the meter assists in achieving it.
Loading and Unloading Film
Pentax K1000 film loading involves a straightforward process, detailed in readily available manuals, ensuring proper film advance and rewind for successful shooting.
Film Types Compatible with the K1000
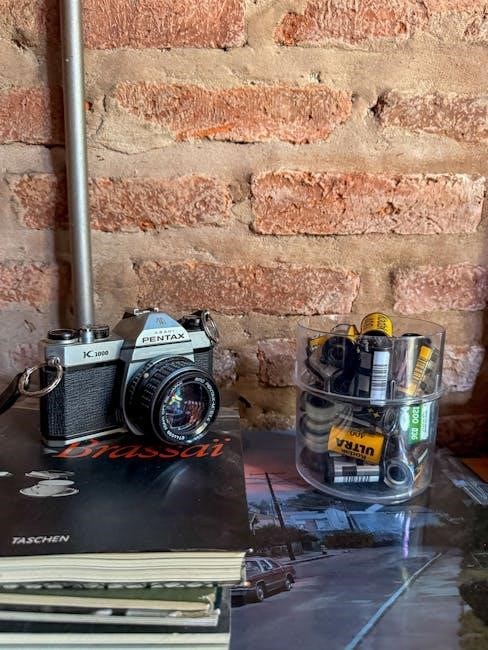
The Pentax K1000 is remarkably versatile regarding film compatibility. It readily accepts standard 35mm film in both cassette formats – 20 and 36-exposure rolls are common. Black and white negative film, color negative film, and even slide film (transparency film) can all be used successfully.
ISO/ASA ratings ranging from 25 to 3200 are generally suitable, though optimal results depend on lighting conditions and film stock. The camera’s metering system functions effectively with these speeds. While modern films are ideal, older film stocks can also be employed, offering unique aesthetic qualities. Always consult the film’s data sheet for specific exposure recommendations.
Step-by-Step Film Loading Guide
First, open the camera back using the release latch. Next, insert the film cassette into the film chamber. Pull the film leader across the camera and attach it to the take-up spool. Ensure the sprocket holes engage with the teeth on the spool.
Advance the film using the film advance lever, watching to ensure the film is catching correctly. Close the camera back securely. Continue advancing the film and using the lever until the frame counter reaches ‘1’, indicating the first usable frame. You are now ready to shoot!
Proper Film Rewinding Procedure
To rewind the film, locate the rewind crank on the top of the camera. Press the rewind release button on the bottom. Gently pull up on the rewind crank and begin turning it in the direction indicated by the arrow.
Feel for resistance as the film rewinds into the cassette. Continue rewinding until you feel the film completely release from the take-up spool. Open the camera back and carefully remove the film cassette. Proper rewinding prevents damage to the film and camera.
Basic Operation: Setting Up for a Shot
Essential steps include setting film speed, adjusting shutter speed, and controlling the aperture (f-stop) – all crucial for proper exposure and image capture.
Setting the Film Speed (ISO/ASA)
The Pentax K1000’s film speed setting is vital for accurate metering. Locate the ISO/ASA dial, typically surrounding the shutter speed dial. Gently pull out the dial to reveal the ISO settings. Rotate the dial until the film’s ISO number (e.g., 100, 200, 400) aligns with the indicator mark.
Ensure the dial clicks firmly back into place after setting. Incorrect ISO settings will result in under or overexposed photographs. Remember to change this setting whenever you load a different film speed. This mechanical process directly impacts the light meter’s calculations.
Adjusting the Shutter Speed
The shutter speed dial on the Pentax K1000 controls the duration of light exposure on the film. It’s typically located on top of the camera, often combined with the ISO setting dial. Rotate the dial to select speeds ranging from 1 second to 1/1000th of a second, plus Bulb (B) for long exposures.
Faster shutter speeds freeze motion, while slower speeds allow more light in, potentially causing motion blur. Remember to consider the reciprocal rule – use a shutter speed at least equal to the reciprocal of the focal length to avoid camera shake.
Controlling the Aperture (f-stop)
The aperture ring, located on the lens itself, controls the lens opening – the f-stop; Smaller f-numbers (like f/2.8) indicate wider apertures, letting in more light and creating shallow depth of field. Larger f-numbers (like f/16) mean smaller apertures, less light, and greater depth of field.
Adjusting the aperture affects both exposure and how much of the image is in focus. Some lenses have an aperture preview lever to visualize the depth of field before shooting. Remember to consider the interplay between aperture and shutter speed for proper exposure.
Using the K1000’s Light Meter
The K1000’s light meter activates when you remove the lens cap, initiating the metering chain for accurate exposure settings.
Understanding the Metering System
The Pentax K1000 utilizes a center-weighted averaging metering system. This means the meter prioritizes the light readings from the center of the frame, gradually decreasing sensitivity towards the edges. It’s a relatively simple system, relying on a needle indicator within the viewfinder to show exposure. The meter doesn’t react to aperture or shutter speed changes instantaneously; it requires a brief pause for accurate readings. Understanding this delay is crucial for proper operation. The system is dependent on a working battery to power the metering circuit, and accurate readings are vital for correctly exposed photographs.
How to Read the Light Meter
The K1000’s light meter is displayed as a needle within the viewfinder. When the needle aligns with the “0” mark, the camera indicates a correct exposure. If the needle points towards the “+” side, the scene is brighter and requires a faster shutter speed or smaller aperture. Conversely, a “-” indication suggests underexposure, needing a slower shutter speed or wider aperture. Remember to activate the meter by removing the lens cap, engaging the metering chain. Practice observing the needle’s movement with varying light conditions to build familiarity.
Exposure Compensation Techniques
The Pentax K1000 doesn’t have a dedicated exposure compensation dial. Instead, you manually adjust either the shutter speed or aperture to achieve desired results. For example, shooting snow scenes (bright subjects) requires overexposure – open the aperture or slow the shutter speed. Dark subjects, like coal, demand underexposure; close the aperture or increase shutter speed. Understanding this principle allows you to override the meter’s reading when it’s fooled by extreme lighting. Consistent practice and reviewing results are key to mastering this technique.

Focusing Techniques
The K1000 utilizes a split-image focusing aid in the viewfinder. Aligning the divided image creates sharp focus, essential for clear and aesthetically pleasing photographs.
Using the Split-Image Focusing Aid
The Pentax K1000’s split-image focusing aid is a crucial component for achieving sharp images. Located in the center of the viewfinder, it presents a circle divided into two sections. When the lens is out of focus, these sections appear misaligned. Rotate the focusing ring on the lens until the two halves perfectly align, creating a seamless image.
This indicates critical focus. Practice using this method; it becomes intuitive with experience. Remember that depth of field impacts sharpness, so consider your aperture setting alongside precise focusing for optimal results. Mastering this technique is key to utilizing the K1000 effectively.
Depth of Field Control
Depth of field, the area appearing sharp in your photograph, is controlled by the aperture (f-stop) setting on the K1000. A larger f-number (e.g., f/16) yields a greater depth of field, ideal for landscapes where sharpness throughout the scene is desired. Conversely, a smaller f-number (e.g., f/2.8) creates a shallow depth of field, blurring the background and isolating your subject – perfect for portraits.
Experiment with different apertures to understand their effect. Consider the distance to your subject; closer subjects require smaller apertures for sufficient depth of field.
Advanced Features & Considerations
The Pentax K1000 offers a self-timer and compatibility with external light meters. Battery replacement is straightforward, ensuring continued operation of the metering system.
Using External Light Meters
While the Pentax K1000 features a built-in light meter, utilizing an external meter provides greater accuracy and control, especially in challenging lighting scenarios. Adapters allow connection of external meters, transmitting aperture information via a dedicated lever. This is particularly useful with older SMC Takumar lenses, ensuring precise exposure. External meters offer expanded measurement modes – incident light metering, for example – beyond the K1000’s capabilities. Experienced photographers often prefer the reliability and nuanced readings of dedicated external light meters, enhancing creative control and minimizing exposure errors. Remember to disable the camera’s internal meter when using an external one to avoid conflicting readings.
Understanding the Self-Timer
The Pentax K1000’s self-timer is a simple yet effective feature for self-portraits or situations requiring delayed shutter release. Located near the shutter button, the lever activates a roughly 10-second delay. After activation, the lever locks, and the shutter fires automatically. Ensure the camera is stable on a surface or tripod during the delay to prevent blur. The self-timer overrides manual settings, so confirm your aperture and shutter speed before activating it. It’s a purely mechanical system, requiring no batteries for operation, adding to the K1000’s reliability.
Battery Information and Replacement
The Pentax K1000 primarily functions mechanically, needing a battery solely for its light meter. It requires a 1.5V alkaline or silver-oxide button cell, typically an LR44 or equivalent. Battery life varies with meter usage, but expect several months from a fresh cell. A weak battery impacts metering accuracy, potentially leading to incorrect exposures. To replace, open the battery compartment on the camera’s bottom. Ensure correct polarity during installation. Regularly check the battery; a failing meter is a common K1000 issue.
Troubleshooting Common Issues
Common problems include metering inaccuracies, shutter malfunctions, and film advance difficulties. Online forums and manuals offer solutions for these typical Pentax K1000 issues.
Metering Problems
If the Pentax K1000’s light meter isn’t functioning, ensure the battery is fresh and correctly installed. Remember to remove the lens cap, as this activates the metering circuit. Inaccurate readings can sometimes occur; consider using an external light meter for verification. Check the film speed (ISO/ASA) setting – an incorrect setting will drastically affect exposure. If problems persist, consult online resources or a camera repair technician. Many manuals detail troubleshooting steps, and forums offer community-based solutions for common metering issues encountered with this classic camera.
Shutter Issues
If the Pentax K1000’s shutter isn’t firing, first confirm it’s not set to ‘B’ (bulb) mode. Ensure the film is correctly loaded and advancing. A slow shutter speed might indicate a mechanical problem requiring professional attention. Sometimes, cleaning the shutter curtains can resolve sticking issues, but this is best left to experts. Refer to the camera’s manual for diagrams and explanations of the shutter mechanism. Online forums often discuss common shutter problems and potential DIY fixes, though caution is advised when attempting repairs yourself.
Film Advance Problems
Difficulty advancing film on the Pentax K1000 often stems from improper loading. Double-check the film leader is correctly engaged with the take-up spool. If the film isn’t advancing smoothly, ensure nothing obstructs the film path. A stiff film advance lever could indicate a lubrication issue, though avoid self-lubrication. Inspect the rewind knob; resistance there suggests film isn’t properly secured. Consult the manual’s diagrams for correct film loading. Online K1000 communities frequently address film advance issues, offering troubleshooting tips and potential solutions.
Resources for K1000 Users
Pentax K1000 users benefit from plentiful online manuals, active forums, and communities. Replacement parts are also available through various retailers and online marketplaces.
Online Manuals and Guides
Fortunately for Pentax K1000 owners, a wealth of resources exists online. Numerous websites host downloadable PDF versions of the original camera manual, offering detailed instructions. These guides cover everything from basic operation to advanced techniques. Several sites provide free access to the Pentax K1000 manual in multiple languages, including English. Beyond the official manual, various photography websites and blogs feature tutorials and guides specifically tailored to the K1000, offering practical advice and troubleshooting tips. These resources are invaluable for both beginners and experienced photographers looking to master this classic camera.
K1000 Communities and Forums
A vibrant online community surrounds the Pentax K1000, offering support and shared knowledge. Photography forums dedicated to film cameras frequently have active threads discussing the K1000, where users share tips, ask questions, and showcase their work. These communities are excellent places to find answers to specific problems or learn new techniques. Many enthusiasts actively discuss the nuances of using the camera and compatible lenses. Engaging with these forums provides a collaborative learning environment, supplementing the information found in the Pentax K1000 manual.
Where to Find Replacement Parts
Sourcing replacement parts for the Pentax K1000 can require some diligence, given its age. Online auction sites, like eBay, are frequently the best starting point, offering a wide selection of used components. Specialized camera repair shops often stock parts or can source them. While a complete Pentax K1000 manual doesn’t detail part numbers, online communities can assist with identification. Be mindful of compatibility when purchasing, and consider the cost of repair versus replacement. Patience is key when searching for specific, vintage parts.